Sprite Sheet Animation in SwiftUI: A Practical Tutorial
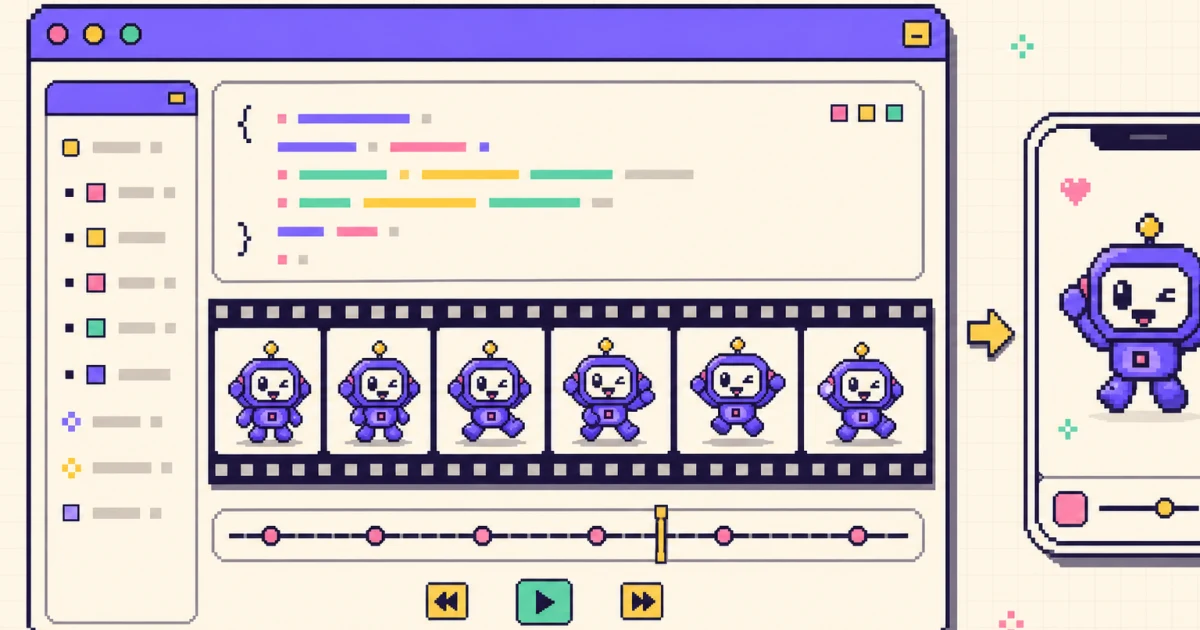
TL;DR: To play a sprite sheet animation in SwiftUI, add the frames to an asset catalog as an imageset per frame (@1x/@2x/@3x), then cycle the visible Image on a TimelineView or Timer at your target frame rate. A generator like Motif exports the frames, the asset catalog, and a ready-made SwiftUI player view so the whole thing is drag-and-drop.
A sprite sheet animation is one of the lightest ways to give an iOS app personality. There is no runtime dependency, no custom rendering engine, and no external animation format to decode: you draw a sequence of images and swap which one is visible. This tutorial walks through the full path in SwiftUI, from preparing the frames to shipping a reusable, accessible player view.
If you want the broader strategy around when and where to place a character, start with how to add an animated mascot to your app. This post is the focused iOS implementation.
What you are building
The goal is a small, looping mascot that lives inside an ordinary SwiftUI view. Think of a robot that waves during onboarding, a fox that celebrates a completed task, or an idle character that breathes gently in an empty state.
A mascot loop is usually short. Most read well at 8 to 24 frames per loop and play back at 8 to 12 frames per second. That range is deliberate:
- Fewer frames keep the asset small and the loop easy to keep on-model.
- A lower frame rate, around 8 to 10 fps, feels characterful and hand-crafted rather than mechanical.
- Going above 12 fps rarely improves a small on-screen mascot and mostly adds memory and battery cost.
By the end you will have a MascotView you can point at any frame sequence, with a configurable frame rate, loop control, off-screen pausing, and a Reduce Motion fallback.
Preparing the frames
SwiftUI does not decode animated GIF or APNG on its own, so the reliable native approach is individual frames. Each frame is a separate PNG with a transparent background so the character sits cleanly on any surface.
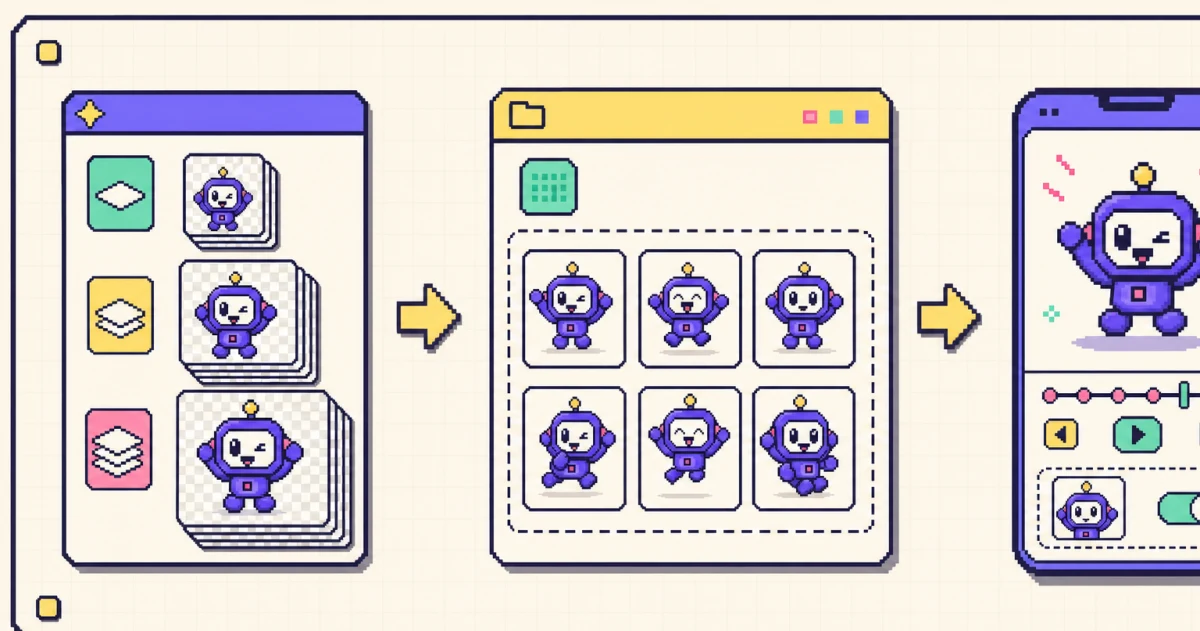
Add every frame to your asset catalog (Assets.xcassets) as its own imageset, and provide the three scale factors iOS expects:
@1xfor the base logical size,@2xfor Retina displays,@3xfor the highest-density devices.
A predictable naming convention keeps the playback code trivial. Zero-padded indices sort correctly and are easy to generate:
frame_000  (frame_000.png, frame_000@2x.png, frame_000@3x.png)
frame_001
frame_002
...
frame_011
Zero-padding matters: frame_2 would sort after frame_10 in a plain string sort, while frame_002 will not. With this layout, the frame names become a simple array you can build in code.
Producing clean, on-model, background-free frames at three densities by hand is the tedious part. Motif exports this exact structure automatically: the individual transparent PNGs, the @1x/@2x/@3x asset catalog, and a mascot.json metadata file that records the frame count, suggested frame rate, and canonical frame order. You can read those values at runtime instead of hard-coding them, which keeps the view in sync if you regenerate the loop later.
The SwiftUI player
Here is a complete, self-contained player view. It cycles through an array of frame names using TimelineView(.animation), which drives updates in step with the display refresh and pauses automatically when the view is not on screen. It exposes a configurable frame rate and loop control, and it has no force unwraps.
import SwiftUI

/// Plays a sprite-sheet animation by cycling asset-catalog frames.
struct MascotView: View {
    /// Ordered asset names, for example ["frame_000", "frame_001", ...].
    let frameNames: [String]
    /// Target playback speed in frames per second.
    var fps: Double = 10
    /// When false, the animation stops on the last frame.
    var loops: Bool = true

    @Environment(\.accessibilityReduceMotion) private var reduceMotion

    var body: some View {
        Group {
            if reduceMotion || frameNames.count <= 1 {
                stillFrame
            } else {
                animatedFrames
            }
        }
    }

    private var stillFrame: some View {
        Image(frameNames.first ?? "")
            .resizable()
            .scaledToFit()
    }

    private var animatedFrames: some View {
        TimelineView(.animation) { context in
            let seconds = context.date.timeIntervalSinceReferenceDate
            let index = frameIndex(at: seconds)
            Image(frameNames[index])
                .resizable()
                .scaledToFit()
        }
    }

    private func frameIndex(at seconds: TimeInterval) -> Int {
        let count = frameNames.count
        guard count > 1 else { return 0 }

        let elapsed = Int((seconds * fps).rounded(.down))
        if loops {
            return ((elapsed % count) + count) % count
        } else {
            return min(elapsed, count - 1)
        }
    }
}
Using it is a one-liner. Build the frame-name array from your naming convention and hand it to the view:
struct OnboardingMascot: View {
    private let frames = (0..<12).map { index in
        String(format: "frame_%03d", index)
    }

    var body: some View {
        MascotView(frameNames: frames, fps: 10, loops: true)
            .frame(width: 160, height: 160)
    }
}
The frame modifier gives the mascot a fixed size so surrounding content never shifts as frames swap.
If you prefer a timer-driven approach, for example to advance frames only under specific conditions, Timer.publish is the idiomatic alternative:
struct TimerMascotView: View {
    let frameNames: [String]
    var fps: Double = 10

    @State private var index = 0
    private var timer: Publishers.Autoconnect<Timer.TimerPublisher> {
        Timer.publish(every: 1 / fps, on: .main, in: .common).autoconnect()
    }

    var body: some View {
        Image(frameNames.indices.contains(index) ? frameNames[index] : "")
            .resizable()
            .scaledToFit()
            .onReceive(timer) { _ in
                guard !frameNames.isEmpty else { return }
                index = (index + 1) % frameNames.count
            }
    }
}
Both approaches are valid. TimelineView(.animation) is usually the better default because it ties into SwiftUI's own scheduling and stops doing work when the view is off screen.
Performance and polish
A mascot should add character without costing frame drops or battery.
Preload the frames. The first play of a loop can hitch while images decode. Warm the cache before the mascot appears so the first frame is instant:
func preload(_ names: [String]) {
    for name in names {
        _ = UIImage(named: name)
    }
}
Call this from a background-friendly moment, such as just before you present the screen.
Pause when off screen. TimelineView(.animation) already stops when its view is not visible. If you use the timer approach, cancel work explicitly:
.onDisappear {
    // Invalidate timers or set an `isActive` flag to false here
}
Respect Reduce Motion. The MascotView above already reads accessibilityReduceMotion and shows a single still frame when the user has enabled it. This is not optional polish: some users feel unwell from looping motion, and a still frame keeps the interface complete. Never make animation the only way to understand a status, and pair meaningful states with text such as "Upload complete."
Size assets for their rendered dimensions. Exporting near the display size, rather than scaling a large source down at runtime, keeps memory and decoding cost low. This is why the @1x/@2x/@3x split matters: each device loads only the density it needs.
Alternatives compared briefly
Native sprite frames are not the only way to animate a mascot, but they have the smallest footprint.
- Animated WebP or APNG. Compact and easy to ship, but SwiftUI cannot decode them without extra work, and you lose per-frame control over frame rate and looping.
- Lottie. Great for vector motion authored in After Effects, but it adds a runtime library and expects JSON animation files rather than raster frames. See Motif vs Lottie for when each fits.
- Rive. Powerful for interactive, state-driven characters, at the cost of another runtime and an editor workflow. See Motif vs Rive for the trade-offs.
The advantage of native frames is that there is no runtime dependency at all. You ship images and a few lines of SwiftUI. For a small looping mascot, especially a pixel or flat-illustration style like a Duolingo-style mascot, that simplicity is usually the right call.
Shipping checklist
Before you ship the animation, confirm:
- Frames are individual transparent PNGs at
@1x/@2x/@3xin the asset catalog. - Frame names are zero-padded and sort in playback order.
- Frame rate is in the 8 to 12 fps range and the loop has no visible snap.
- The mascot has a fixed
frameso layout does not shift. - Frames are preloaded before the first play.
- Off-screen playback pauses.
- Reduce Motion shows a representative still frame.
- Meaningful states are paired with a text label; decorative mascots use empty accessibility labels.
Frequently asked questions
How do I animate a sprite sheet in SwiftUI?
Slice the sheet into one image per frame, add each frame to an asset catalog as an imageset at @1x/@2x/@3x, then swap the visible Image on a schedule using TimelineView(.animation) or a Timer at your target frame rate. Index into an array of frame names so the same view can play any loop.
What frame rate should a mascot animation use?
Most app mascots read well at 8 to 12 frames per second with 8 to 24 frames per loop. Lower frame rates feel characterful and keep files small, while going above 12 fps rarely improves a small on-screen mascot and only increases memory and battery use.
Does SwiftUI support animated PNG or GIF natively?
Not directly. SwiftUI's Image cannot decode an animated GIF or APNG on its own, so the reliable native approach is to store individual frames in the asset catalog and cycle them yourself. Cycling frames gives you exact control over frame rate, looping, and Reduce Motion.
How do I respect Reduce Motion for mascot animations?
Read the accessibilityReduceMotion environment value and show a single representative still frame instead of the loop when it is true. Never rely on motion alone to communicate a status, and always pair meaningful animations with a text label.
How do I get sprite frames for my mascot without an animator?
Use a generator like Motif. Describe the character or upload a reference image, pick an action, and it produces the individual PNG frames with transparency, the @1x/@2x/@3x asset catalog, a mascot.json metadata file, and a ready-made SwiftUI player view you can drop into Xcode.
Ship your first loop
Native sprite frames give you a mascot with zero runtime dependencies and full control over frame rate, looping, and accessibility. Prepare the frames once, drop in the MascotView, and you have a production-ready animation.
If you would rather skip the frame preparation entirely, generate an animated mascot with Motif and export the frames, asset catalog, and SwiftUI player view ready to drag into Xcode.