How to Add an Animated Mascot to Your App
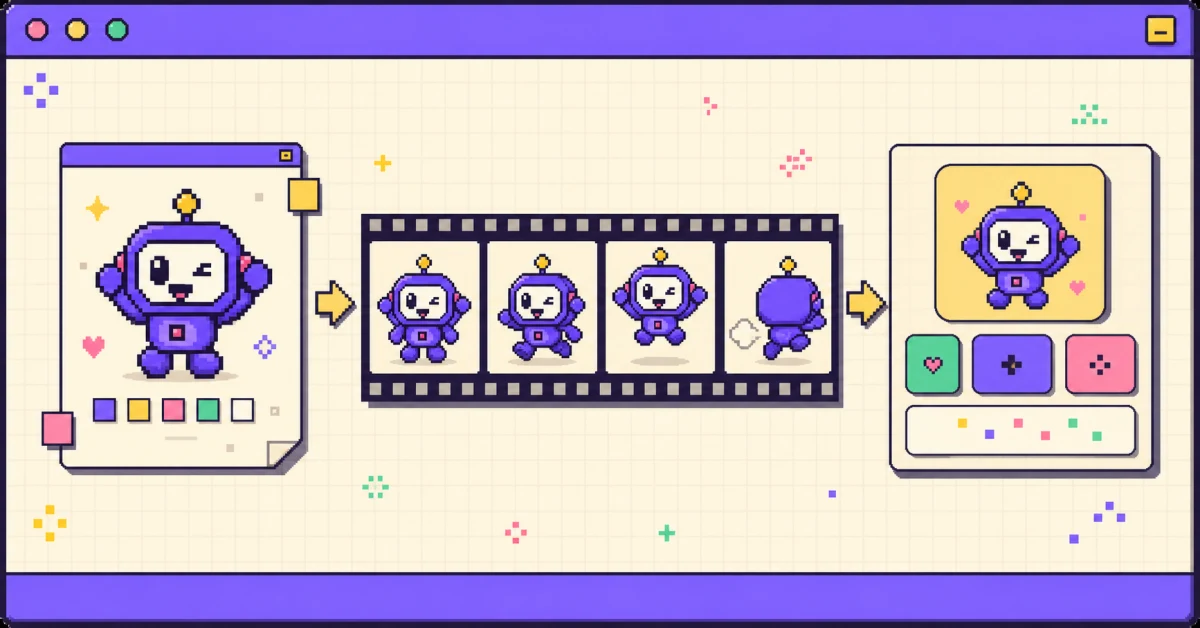
TL;DR: To add an animated mascot to your app, create or upload the character, generate a short animation loop, export it as a platform-native asset (an Xcode imageset for iOS, density drawables for Android, or animated WebP for the web), and trigger it at key product moments such as onboarding and success states. Motif generates the character, animation, and drop-in export bundle from a text description or reference image in about a minute, with no animation editor required. Keep loops short, size assets for their rendered dimensions, and supply a still fallback for users with reduced-motion preferences.
An animated mascot can welcome new users, make an empty state feel intentional, and celebrate a completed task. The implementation does not have to require a custom animation pipeline: create or upload a character, generate a short loop, export it for your platform, and trigger it at the right product moment.
This guide shows how to add an animated mascot to an iOS, Android, or web app, including the format, performance, and accessibility decisions that make it production-ready.
Before you start: choose one useful moment
Start with a single job for the mascot instead of animating every screen. Good first use cases include:
- a short wave during onboarding;
- a calm idle loop in an empty state;
- a celebration after a meaningful success;
- a gentle recovery pose after an error.
Keep decorative motion separate from status communication. A user should still understand what happened if the animation does not load or if motion is disabled.
The three-step workflow
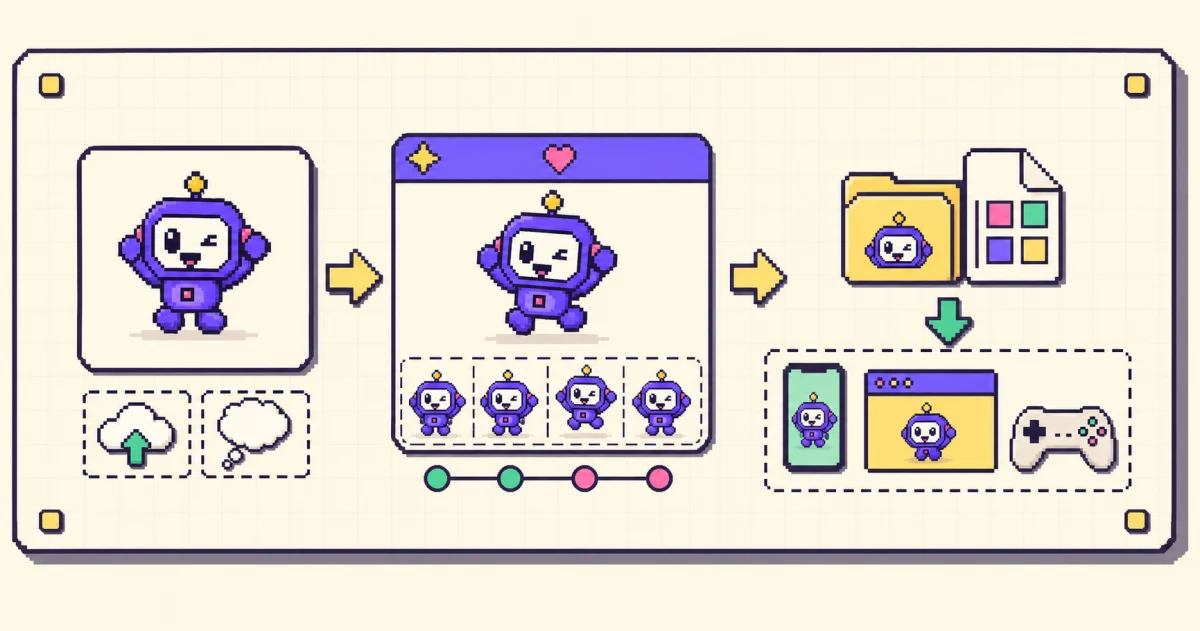
The traditional workflow involves briefing an illustrator, animating the approved design, exporting multiple sizes and formats, and writing the playback code. A purpose-built animated mascot generator combines much of that production work while still leaving you in control of placement and behavior. If you are still choosing a tool, compare the best animated mascot generators in 2026.
Step 1: describe or upload your character
Open Motif and either describe a character in plain English or upload a reference image of an existing mascot. A useful prompt states the species or object, defining colors, silhouette, expression, and art style, for example: “a friendly orange fox mascot with big round eyes, simple flat shapes, and a thick dark outline.”
If you already have a brand character, use a clean reference image with the full silhouette visible. Remove busy backgrounds and avoid tiny details that will disappear at app-icon size. Generate a still test first and compare the eyes, colors, proportions, and distinctive marks before creating more motions.
Step 2: pick a short, purposeful motion
Choose a loop that matches the interface event: idle, wave, think, celebrate, or another clear action. Motif generates a 12-frame sprite sheet, removes the background, and normalizes the frames so the character does not jump around during playback.
Preview the loop at its real in-app size. Check for:
- a consistent face, silhouette, and color palette across frames;
- a clean loop without a visible snap at the end;
- enough contrast on both light and dark surfaces;
- a motion that remains readable without being distracting.
Step 3: export the right format
Choose the target platform and export a bundle rather than manually converting loose frames:
- iOS: Xcode
.imagesetfolders at @1x, @2x, and @3x plus a generated SwiftUI view. - Android: density-aware WebP drawables and an
animation-listforAnimationDrawable. - Web: animated WebP, APNG, or a CSS
steps()sprite animation. - Unity and Godot: a sprite atlas, frame metadata, and import guidance.
Use the native bundle as a starting point, then rename the animation around its purpose, such as onboarding_wave or purchase_success, so future developers know where it belongs.
Add the mascot to an iOS app
Drag the exported folders into Assets.xcassets, add the included SwiftUI helper to the target, and render the generated view:
import SwiftUI

struct ContentView: View {
    @Environment(\.accessibilityReduceMotion) private var reduceMotion

    var body: some View {
        if reduceMotion {
            Image("mascot_wave_00")
                .resizable()
                .scaledToFit()
        } else {
            MascotWaveAnimated()
        }
    }
}
Give the mascot a fixed frame so surrounding content does not shift. If it is decorative, hide it from VoiceOver; if it communicates a result, pair it with a concise text label such as “Upload complete.” For a full walkthrough of the player view, frame preparation, and Reduce Motion handling, see the SwiftUI sprite sheet animation tutorial.
Add the mascot to Android
Place the exported resources in the generated res/drawable* folders. The included animation list can be played with AnimationDrawable:
val mascot = ContextCompat.getDrawable(
    context,
    R.drawable.mascot_wave_anim
) as AnimationDrawable

imageView.setImageDrawable(mascot)
mascot.start()
Check the system animation-scale and accessibility preferences in your app’s motion policy. Provide a static first frame when motion is reduced, and stop the drawable when its screen is no longer visible.
Add the mascot to a website
For the simplest integration, use the exported animated WebP:
<picture>
  <source
    srcset="/assets/mascot-wave.webp"
    type="image/webp"
  />
  <img
    src="/assets/mascot-wave.png"
    width="240"
    height="240"
    alt=""
  />
</picture>
Set explicit width and height to prevent layout shift. Lazy-load below-the-fold mascots, but preload a hero animation only if it is part of the largest visible element. In CSS, respect the user’s preference:
@media (prefers-reduced-motion: reduce) {
  .mascot-animation {
    animation: none;
    background-position: 0 0;
  }
}
Keep animation fast and accessible
A mascot should add personality without delaying the interface.
- Export near the size you render instead of scaling down a huge source.
- Keep loops short and reuse them across relevant screens.
- Reserve layout space before the file loads.
- Pause off-screen animations to reduce CPU and battery use.
- Do not autoplay sound.
- Supply a still fallback for reduced-motion users.
- Pair meaningful states with text; use empty alt text for purely decorative images.
Common mistakes to avoid
Animating everything. One strong reaction at an important moment is more effective than constant movement.
Using one pose everywhere. Map a small set of states (welcome, idle, success, recovery) to specific events.
Ignoring dark mode. Test edge contrast and add a controlled backing shape if the silhouette disappears.
Shipping without a fallback. Network failure, reduced-motion preferences, and older decoders should still produce a complete interface.
Letting the character drift. Compare new motions with a canonical character sheet before adding them to the product. Keeping frames on-model by hand is the hardest part of a DIY AI workflow.
Frequently asked questions
How do I add an animated mascot to an app?
Create or upload the character, generate a short motion loop, export it in a platform-native format, and trigger the animation at a useful moment such as onboarding, success, or an empty state.
Which format should I use?
Use native image assets for iOS, density-aware drawables or animated WebP for Android, and animated WebP or a CSS sprite sheet for the web. Choose the smallest format that preserves the quality and transparency you need.
Will an animated mascot slow down my app?
Not when it is sized and loaded carefully. Keep loops short, avoid oversized files, lazy-load secondary animations, and pause them off-screen.
Should it support reduced-motion settings?
Yes. Show a still frame or a subtler alternative, and never rely on movement alone to communicate status.
Ship one useful animation first
Start with the highest-value moment in your app, test the loop at its real display size, and measure whether users notice or engage with it. Once the character has a clear role, expand the same visual language to other moments.
For the strategy behind choosing those moments, read why your app needs a mascot. Or generate an animated mascot with Motif and export a ready-to-integrate bundle.